
How to create and amend Purchase Returns in Sage 200 from Excel
This tutorial demonstrates how to create and amend purchase returns in Sage 200 from Excel using Excelerator.
View a video of this tutorial here:
Excelerator makes it easy to amend multiple purchase returns from a single spreadsheet
We can work with a single purchase return at a time, but in this tutorial, we are going to amend multiple returns.

A purchase return can have one of two possible statuses: Live or completed. When the purchase return is live, it can be amended.
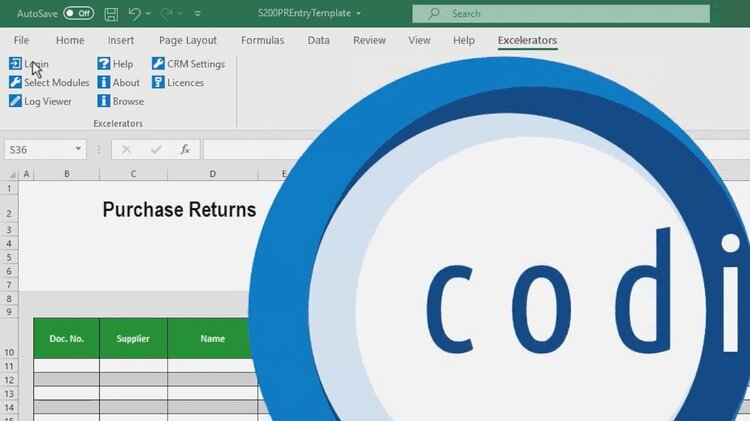
To begin, click the Login button in the Excelerators tab. Your Windows credentials will be used automatically if you have Sage 200 version 2013 or later.
Once you are logged in, start by clicking the Download Purchase Returns button

Now, we will select and download the existing purchase returns. If you wish to amend these purchase returns, make sure their status is “live”.

When you have selected the desired purchase returns, click OK.
Now, we have two purchase returns downloaded to the template.

Add stock items to these purchase returns by right clicking the ‘Stock/Service Code’ cell and selecting “Browse”.

When you have selected the desired stock items, click OK. We will browse on the warehouse in the same way and then enter the return quantity.

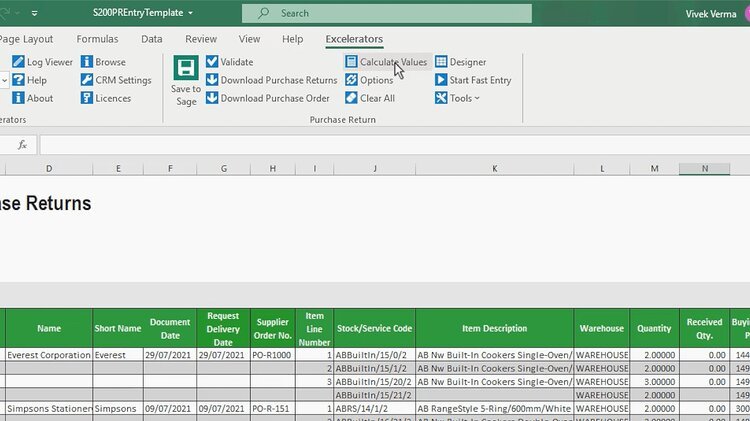
Now, click ‘Calculate Values’ to calculate tax based on the products being returned.
Click ‘Validate’ to make sure the data adheres to Sage 200 rules.

We can now click ‘Save to Sage’ to upload this data directly to Sage. It’s as simple as that.

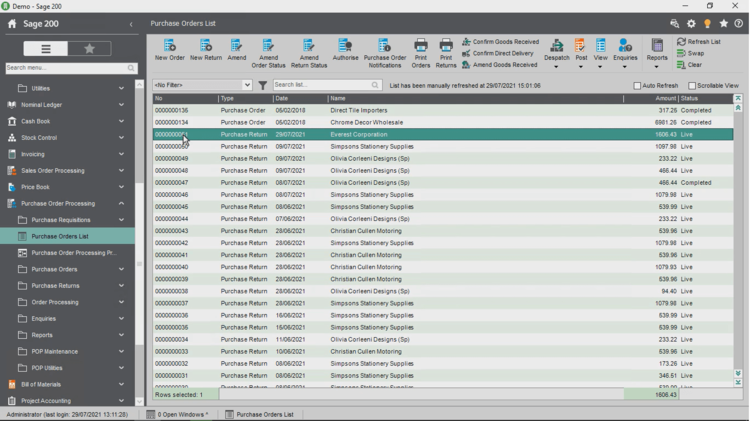
We can go back to Sage 200 and take a look.

We can see, our purchase returns have been amended successfully.
Design own spreadsheet templates using the designer
We can also create our own template using the spreadsheet designer.
Click the designer button

In the designer, all standard Sage fields are available, such as:
Return Header fields, e.g. Return From Address, Return Analysis Codes and Spare Ranges
Return Detail fields, e.g. Details Analysis Codes, Project Analysis Details and Spare Ranges
Purchase Order Detail fields, e.g. Order Number and Order Line Quantity

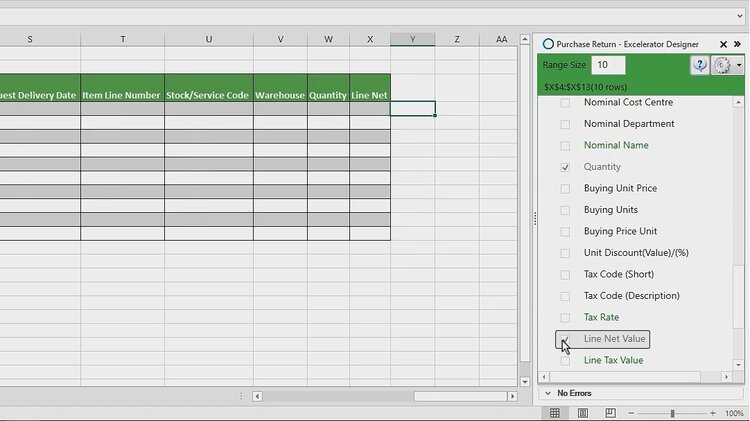
Enter the number of rows needed under “Range Size”. Here we will choose 10.

Now, we will add the following fields by ticking the box next to them:
Document number
Supplier
Document date
Supplier order number
Request deliver date
Item line number
Stock/service code
Warehouse
Quantity
Line net
Once our template is ready, click on ‘Download Purchase Order’ button to download a purchase order.

Choose the purchase order that the return will be based on and then click OK.

Now we will update the document date, supplier order number (by right clicking and browsing), request delivery date, and add the quantities being returned.

Click ‘Calculate Values’ to calculate tax based on the products being returned.

Click ‘Save to sage’ to uploaded data in the Sage.

In a single mouse click, a new purchase return has been created and the document number is written back to the sheet.

We can take a look at Sage 200 and see that we have just created a purchase return using a spreadsheet powered by Excelerator.

Where to go from here
Contact us to discover more about the purchase return module and to see a live demo.
Download the latest release of Excelerator now.
View Excelerator in action with our tutorials.
For help with Excelerator, check out our online Excelerator Help.