
Import Journals from Excel to Sage 200
This tutorial is part of a series of tutorials on Excel to Sage 200 integration using the popular Excel add-in: Excelerator.
In this tutorial, we’ll demonstrate how you can import journal entries into Sage 200 from Excel using Excelerator, with full validation. You can either use an Excel spreadsheet template provided by us or use your own spreadsheets.
View a video of this tutorial here:
Use our spreadsheet template
Open the template. Excelerator comes with ready-made spreadsheet templates, so you can start entering nominal ledger journals straight away. You can find the template for journals in the “Program Files (x86)” folder under the following path:
C:\Program Files (x86)\Codis Excelerator\Excelerators\Sage200 Templates\NL Journals

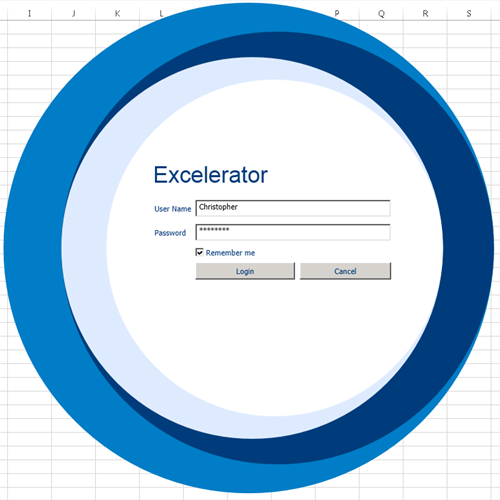
Log in. To easily validate your Excel data and download from Sage into the spreadsheet, be sure to log into Excelerator by clicking Login on the Excel ribbon. For Sage 200 2011 and below, use your Sage user name and password. For Sage 200 2013, your Sage user is obtained based on your windows login.
(Optional) Download journals into the spreadsheet. You can download posted or unposted journals by clicking the relevant button in the Excel ribbon. You can easily search through key journal data (such as reference, narrative and posted date) before selecting the journal you’d like to download. Click OK to retrieve the journal from Sage and view its data within the spreadsheet.

Edit existing or enter new journal data into the spreadsheet. The template contains common journal entry fields. Journal header fields include:
Journal Title
Journal Date - leave blank to default to today
Journal Number – leave blank when entering new journals to auto-generate
Whether to save as a held journal, or to post this journal.

At any time you can look up Sage data from within Excel by right-clicking the relevant cell and selecting Browse. This works in the journal header fields such as Hold/Post and also the journal detail fields such as the nominal code.
When browsing through nominal accounts, you can search, sort and group by any key fields such as:
Reference
Cost centre
Department
Description
Account type
Nominal Name

When you have selected your nominal accounts, all associated journal detail columns in the spreadsheet will be filled in, ready to edit. When editing, feel free to use any Excel features that you like, such as autofill, formulae, flash-fill, graphs and charts, etc.
Click Save to Sage in the Excel ribbon.

Any validation errors will be shown, along with which line in the spreadsheet the error occurred on. If there are no errors, your journal will be saved to Sage and if it’s a new journal then the new journal number will be returned.
Use your own spreadsheet
Open the Excelerator designer. From a blank worksheet, log into Excelerator (step 2 from above) and click “designer”. This will open up the Excelerator designer which will display the available fields that can be posted. Red fields are mandatory, green is for downloading from Sage only and blue fields can be uploaded and downloaded from Sage.

Select the cell(s) that will display data. To have a cell display data from Sage in your spreadsheet, click the cell and double click the desired field (e.g. “Transaction Analysis”) in the designer.

For detail fields, the designer will add a number of rows. Remember to click Add browse to be able to browse Sage 200 data from your own spreadsheet.
Start downloading or uploading to Sage. Download and upload journals using steps 3 – 5 above. Excel integration with Sage 200 is that easy.

Where to go from here
Download the latest release of Excelerator now.
View Excelerator in action with our tutorials.
For help with Excelerator, check out our online Excelerator Help.
Contact us to find out more about this new update, see a demo, or learn about upgrades.